在这篇文章中,我们将带领您了解当我使用GNUCLibrary提供的非标准函数时,Clang可以警告我吗?的全貌,同时,我们还将为您介绍有关AndroidArchiveLibrary(AAR)与标准ja
在这篇文章中,我们将带领您了解当我使用GNU C Library提供的非标准函数时,Clang可以警告我吗?的全貌,同时,我们还将为您介绍有关Android Archive Library(AAR)与标准jar、android design library提供的TabLayout的用法、Android studio 模拟器报错: Qt library not found at /Users/dubox/Library/Android/sdk/emulator/lib64/qt/lib、android – 为什么Volley Library通常与okHttp Library结合使用?的知识,以帮助您更好地理解这个主题。
本文目录一览:- 当我使用GNU C Library提供的非标准函数时,Clang可以警告我吗?
- Android Archive Library(AAR)与标准jar
- android design library提供的TabLayout的用法
- Android studio 模拟器报错: Qt library not found at /Users/dubox/Library/Android/sdk/emulator/lib64/qt/lib
- android – 为什么Volley Library通常与okHttp Library结合使用?

当我使用GNU C Library提供的非标准函数时,Clang可以警告我吗?
getline()这样的功能很有用但非标准.我希望能够在GNU C库不可用的系统上编译程序.我不知道究竟哪些函数是非标准的,我希望有一个命令行开关让clang在我使用这些函数时警告我.在那儿?
clang –version的输出:
Apple LLVM version 5.1 (clang-503.0.40)
解决方法
-D_XOPEN_SOURCE=600
在命令行或
#define _XOPEN_SOURCE 600
应该为过时的2001版POSIX(最新的OSX支持)公开POSIX base和XSI选项.如果你只想要没有XSI的基础,那么将_POSIX_C_SOURCE定义为200112L.
与标准jar")
Android Archive Library(AAR)与标准jar
我一直在阅读有关Gradle作为Android应用程序的标准构建系统的新采用的一些文章。好吧,来自标准Java开发,我通常依赖 jar
文件来构建我的项目。然而似乎安卓也有 AAR 包,这是相当于 DLL
在Windows操作系统文件,提到这里:
首先,您必须意识到Android平台不允许应用程序级别的“共享库”。在“传统”编程语言平台(C,C
++,Java)中,您可以使用它来共享运行库的这种机制。(例如,Windows上的DLL,Unix上的DSO,JVM上的Jar等)。但是,在Android上,除非您是Google或手机制造商,否则不能这样做(请参阅下面的脚注1)。作为应用程序开发人员,这可能是一个基本限制。在构建时和运行时,“共享”或“重用”代码是软件工程实践中非常重要的一部分。由于上述限制,这在Android上相当困难(并非没有可能,只是更加困难)。
但是,我对此概念有些怀疑。我的意思是,开发人员何时应该对它的应用程序中包含 aar 依赖感兴趣?是否已将这些依赖关系限制为某些SDK最低版本?
例如,在一个项目中,我访问一个COM端口,该端口使用NDK预编译的
.so 库。如果要共享此实用程序,是否必须创建aar?

android design library提供的TabLayout的用法
在开发中,我们常常需要ViewPager结合Fragment一起使用,如下图:

我们可以使用三方开源的PagerSlidingTabStrip去实现,或者viewpagerindicator,我一般都偏向前者。现在我们可以使用Design support library库的TabLayout去实现了。最终的效果图:

创建布局
<?xml version="1.0" encoding="utf-8"?>
<LinearLayout xmlns:android="http://schemas.android.com/apk/res/android"
    xmlns:app="http://schemas.android.com/apk/res-auto"
    android:layout_width="match_parent"
    android:layout_height="match_parent"
    android:orientation="vertical">


    <!--app:tabMode="scrollable"  这个属性我在代码中设置了-->
   <!-- tabLayout.setTabMode(TabLayout.MODE_SCROLLABLE);-->
    <android.support.design.widget.TabLayout
        android:id="@+id/sliding_tabs"
        android:layout_width="match_parent"
        android:layout_height="wrap_content"
         />

    <android.support.v4.view.ViewPager
        android:id="@+id/viewpager"
        android:layout_width="match_parent"
        android:layout_height="0px"
        android:layout_weight="1"
        android:background="@android:color/white" />

</LinearLayout>
在xml添加TabLayout,如同ViewPager,直接android.support.design.widget.TabLayout即可。还有其他的属性我会在代码中设置。
创建Fragment
package me.chenfuduo.myfragmentdemo.fragment;

import android.os.Bundle;
import android.support.annotation.Nullable;
import android.support.v4.app.Fragment;
import android.view.LayoutInflater;
import android.view.View;
import android.view.ViewGroup;
import android.widget.TextView;

import me.chenfuduo.myfragmentdemo.R;

/**
 * Created by Administrator on 2015/7/30.
 */
public class PageFragment extends Fragment {

    public static final String ARG_PAGE = "ARG_PAGE";
    private int mPage;

    public static PageFragment newInstance(int page) {
        Bundle args = new Bundle();
        args.putInt(ARG_PAGE, page);
        PageFragment pageFragment = new PageFragment();
        pageFragment.setArguments(args);
        return pageFragment;
    }

    @Override
    public void onCreate(Bundle savedInstanceState) {
        super.onCreate(savedInstanceState);
        mPage = getArguments().getInt(ARG_PAGE);
    }

    @Nullable
    @Override
    public View onCreateView(LayoutInflater inflater, ViewGroup container, Bundle savedInstanceState) {
        View view = inflater.inflate(R.layout.fragment_page, container, false);
        TextView textView = (TextView) view;
        textView.setText("Fragment #" + mPage);
        return view;
    }
}
其中Fragment的布局为:
<?xml version="1.0" encoding="utf-8"?>
<TextView xmlns:android="http://schemas.android.com/apk/res/android"
    android:layout_width="match_parent"
    android:layout_height="match_parent"
    android:gravity="center" />
ViewPager的适配器
package me.chenfuduo.myfragmentdemo.adapter;

import android.content.Context;
import android.support.v4.app.Fragment;
import android.support.v4.app.FragmentManager;
import android.support.v4.app.FragmentPagerAdapter;

import me.chenfuduo.myfragmentdemo.fragment.PageFragment;

/**
 * Created by Administrator on 2015/7/30.
 */
public class SimpleFragmentPagerAdapter extends FragmentPagerAdapter {

    final int PAGE_COUNT = 3;
    private String tabTitles[] = new String[]{"tab1","tab2","tab3"};
    private Context context;

    public SimpleFragmentPagerAdapter(FragmentManager fm,Context context) {
        super(fm);
        this.context = context;
    }

    @Override
    public Fragment getItem(int position) {
        return PageFragment.newInstance(position + 1);
    }

    @Override
    public int getCount() {
        return PAGE_COUNT;
    }

    @Override
    public CharSequence getPageTitle(int position) {
        return tabTitles[position];
    }
}
设置TabLayout
package me.chenfuduo.myfragmentdemo;

import android.os.Bundle;
import android.support.design.widget.TabLayout;
import android.support.v4.app.FragmentActivity;
import android.support.v4.view.ViewPager;
import android.view.Menu;
import android.view.MenuItem;

import me.chenfuduo.myfragmentdemo.adapter.SimpleFragmentPagerAdapter;

public class ThirdActivity extends FragmentActivity {

    private SimpleFragmentPagerAdapter pagerAdapter;

    private ViewPager viewPager;

    private TabLayout tabLayout;

    @Override
    protected void onCreate(Bundle savedInstanceState) {
        super.onCreate(savedInstanceState);
        setContentView(R.layout.activity_third);
        pagerAdapter = new SimpleFragmentPagerAdapter(getSupportFragmentManager(), this);
        viewPager = (ViewPager) findViewById(R.id.viewpager);
        viewPager.setAdapter(pagerAdapter);
        tabLayout = (TabLayout) findViewById(R.id.sliding_tabs);
        tabLayout.setupWithViewPager(viewPager);
        tabLayout.setTabMode(TabLayout.MODE_FIXED);
    }
}
这里提几点我遇到的问题
tabLayout.setTabMode(TabLayout.MODE_FIXED);
开始我设置的是:
tabLayout.setTabMode(TabLayout.MODE_SCROLLABLE);
运行后,三个TabLayout标签挤到一块去了。如下:

查看api,找到结果了。这个tabmode有两个属性值:
MODE_FIXED:Fixed tabs display all tabs concurrently and are best used with content that benefits from quick pivots between tabs.
MODE_SCROLLABLE:Scrollable tabs display a subset of tabs at any given moment, and can contain longer tab labels and a larger number of tabs.
不做过多的解释,MODE_SCROLLABLE适合很多tabs的情况。
setupWithViewPager必须在ViewPager.setAdapter()之后调用
查看下源码就知道了:
public void setupWithViewPager(ViewPager viewPager) {
    PagerAdapter adapter = viewPager.getAdapter();
    if(adapter == null) {
        throw new IllegalArgumentException("ViewPager does not have a PagerAdapter set");
    } else {
        ...
    }
}
以上就是最基本的用法,是不是很简单。哈~
定义TabLayout的样式
默认的情况下,TabLayout的tab indicator的颜色是Material Design中的accent color(#009688),我们可以稍作修改:
<style name="MyCustomTabLayout" parent="Widget.Design.TabLayout">
    <item name="tabIndicatorColor">#0000FF</item>
</style>
在布局中使用:
<android.support.design.widget.TabLayout
       android:id="@+id/sliding_tabs"
       style="@style/MyCustomTabLayout"
       android:layout_width="match_parent"
       android:layout_height="wrap_content"
        />
还有一些其他的样式可供选择:
<style name="MyCustomTabLayout" parent="Widget.Design.TabLayout">
    <item name="tabMaxWidth">@dimen/tab_max_width</item>
    <item name="tabIndicatorColor">?attr/colorAccent</item>
    <item name="tabIndicatorHeight">2dp</item>
    <item name="tabPaddingStart">12dp</item>
    <item name="tabPaddingEnd">12dp</item>
    <item name="tabBackground">?attr/selectableItemBackground</item>
    <item name="tabTextAppearance">@style/MyCustomTabTextAppearance</item>
    <item name="tabSelectedTextColor">?android:textColorPrimary</item>
</style>
<style name="MyCustomTabTextAppearance" parent="TextAppearance.Design.Tab">
    <item name="android:textSize">14sp</item>
    <item name="android:textColor">?android:textColorSecondary</item>
    <item name="textAllCaps">true</item>
</style>
添加icon到tab
当前的TabLayout没有方法让我们去添加icon,我们可以使用SpannableString结合ImageSpan来实现,在SimpleFragmentPagerAdapter中:
private int[] imageResId = {
        R.drawable.ic_one,
        R.drawable.ic_two,
        R.drawable.ic_three
};

// ...

@Override
public CharSequence getPageTitle(int position) {
    // Generate title based on item position
    // return tabTitles[position];
    Drawable image = context.getResources().getDrawable(imageResId[position]);
    image.setBounds(0, 0, image.getIntrinsicWidth(), image.getIntrinsicHeight());
    SpannableString sb = new SpannableString(" ");
    ImageSpan imageSpan = new ImageSpan(image, ImageSpan.ALIGN_BOTTOM);
    sb.setSpan(imageSpan, 0, 1, Spannable.SPAN_EXCLUSIVE_EXCLUSIVE);
    return sb;
}
运行,发现没有显示,这是因为TabLayout创建的tab默认设置textAllCaps属性为true,这阻止了ImageSpan被渲染出来,可以通过下面的样式文件定义来改变:
<style name="MyCustomTabLayout" parent="Widget.Design.TabLayout">
      <item name="tabTextAppearance">@style/MyCustomTextAppearance</item>
</style>

<style name="MyCustomTextAppearance" parent="TextAppearance.Design.Tab">
      <item name="textAllCaps">false</item>
</style>
现在运行,效果就出来了。
添加icon和text到tab
@Override
public CharSequence getPageTitle(int position) {
    // Generate title based on item position
    Drawable image = context.getResources().getDrawable(imageResId[position]);
    image.setBounds(0, 0, image.getIntrinsicWidth(), image.getIntrinsicHeight());

    // Replace blank spaces with image icon
    SpannableString sb = new SpannableString("   " + tabTitles[position]);
    ImageSpan imageSpan = new ImageSpan(image, ImageSpan.ALIGN_BOTTOM);
    sb.setSpan(imageSpan, 0, 1, Spannable.SPAN_EXCLUSIVE_EXCLUSIVE);
    return sb;
}
我们看到在实例化SpannableString的时候,我在tabTitles[position]前面加了几个空格,这些空格的位置是用来放置icon的。
添加自定义的view到tab
适配器中增加getTabView(...)方法:
package me.chenfuduo.myfragmentdemo.adapter;

import android.content.Context;
import android.support.v4.app.Fragment;
import android.support.v4.app.FragmentManager;
import android.support.v4.app.FragmentPagerAdapter;
import android.view.LayoutInflater;
import android.view.View;
import android.widget.ImageView;
import android.widget.TextView;

import me.chenfuduo.myfragmentdemo.R;
import me.chenfuduo.myfragmentdemo.fragment.PageFragment;

/**
 * Created by Administrator on 2015/7/30.
 */
public class SimpleFragmentPagerAdapter extends FragmentPagerAdapter {

    final int PAGE_COUNT = 3;
    private String tabTitles[] = new String[]{"tab1", "tab2", "tab3"};
    private int[] imageResId = {R.drawable.avatar_enterprise_vip,
            R.drawable.avatar_grassroot,
            R.drawable.avatar_vip};
    private Context context;

    public SimpleFragmentPagerAdapter(FragmentManager fm, Context context) {
        super(fm);
        this.context = context;
    }

    @Override
    public Fragment getItem(int position) {
        return PageFragment.newInstance(position + 1);
    }

    @Override
    public int getCount() {
        return PAGE_COUNT;
    }

    @Override
    public CharSequence getPageTitle(int position) {
        //第一次的代码
        //return tabTitles[position];
        //第二次的代码
       /**
         Drawable image = context.getResources().getDrawable(imageResId[position]);
        image.setBounds(0, 0, image.getIntrinsicWidth(), image.getIntrinsicHeight());
        SpannableString sb = new SpannableString(" " + tabTitles[position]);
        ImageSpan imageSpan = new ImageSpan(image, ImageSpan.ALIGN_BOTTOM);
        sb.setSpan(imageSpan, 0, 1, Spanned.SPAN_EXCLUSIVE_EXCLUSIVE);
        return sb;*/


        return null;
    }
    public View getTabView(int position){
        View view = LayoutInflater.from(context).inflate(R.layout.tab_item, null);
        TextView tv= (TextView) view.findViewById(R.id.textView);
        tv.setText(tabTitles[position]);
        ImageView img = (ImageView) view.findViewById(R.id.imageView);
        img.setImageResource(imageResId[position]);
        return view;
    }

}
简单的布局:
<?xml version="1.0" encoding="utf-8"?>
<RelativeLayout xmlns:android="http://schemas.android.com/apk/res/android"
    android:layout_width="wrap_content"
    android:layout_height="wrap_content"
    >

    <ImageView
        android:layout_width="wrap_content"
        android:layout_height="wrap_content"
        android:id="@+id/imageView"
        android:layout_centerVertical="true"
        />

    <TextView
        android:layout_width="wrap_content"
        android:layout_height="wrap_content"
        android:layout_toRightOf="@id/imageView"
        android:layout_centerVertical="true"
        android:id="@+id/textView"
        android:layout_marginLeft="3dp"
        />

</RelativeLayout>
使用:
@Override
protected void onCreate(Bundle savedInstanceState) {
       super.onCreate(savedInstanceState);
       setContentView(R.layout.activity_third);
       pagerAdapter = new SimpleFragmentPagerAdapter(getSupportFragmentManager(), this);
       viewPager = (ViewPager) findViewById(R.id.viewpager);
       viewPager.setAdapter(pagerAdapter);
       tabLayout = (TabLayout) findViewById(R.id.sliding_tabs);
       tabLayout.setupWithViewPager(viewPager);
       tabLayout.setTabMode(TabLayout.MODE_FIXED);
       for (int i = 0; i < tabLayout.getTabCount(); i++) {
           TabLayout.Tab tab = tabLayout.getTabAt(i);
           tab.setCustomView(pagerAdapter.getTabView(i));
       }
   }
处理配置改变
当屏幕旋转或者配置改变的时候,我们需要保存当前的状态。
@Override
   public void onSaveInstanceState(Bundle outState) {
       super.onSaveInstanceState(outState);
       outState.putInt(POSITION,tabLayout.getSelectedTabPosition());
   }

   @Override
   protected void onRestoreInstanceState(Bundle savedInstanceState) {
       super.onRestoreInstanceState(savedInstanceState);
       viewPager.setCurrentItem(savedInstanceState.getInt(POSITION));
   }
需要注意的是getSelectedTabPosition()方法是最新的design support library才有的。
最后的效果如下:
源码下载
GitHub:https://github.com/Cogitate-hzx/TabLayoutDemo

Android studio 模拟器报错: Qt library not found at /Users/dubox/Library/Android/sdk/emulator/lib64/qt/lib
运行 Android studio 的模拟器 ,报错:
2018/1/15
下午8:54	Emulator: [140736041808704]:ERROR:./android/qt/qt_setup.cpp:28:Qt library not found at /Users/dubox/Library/Android/sdk/emulator/lib64/qt/lib

下午8:54	Emulator: Could not launch ''/Users/dubox/Library/Android/sdk/emulator/qemu/darwin-x86_64/qemu-system-i386'': No such file or directory

下午8:54	Emulator: Process finished with exit code 2
上网查了半天,原因竟是:
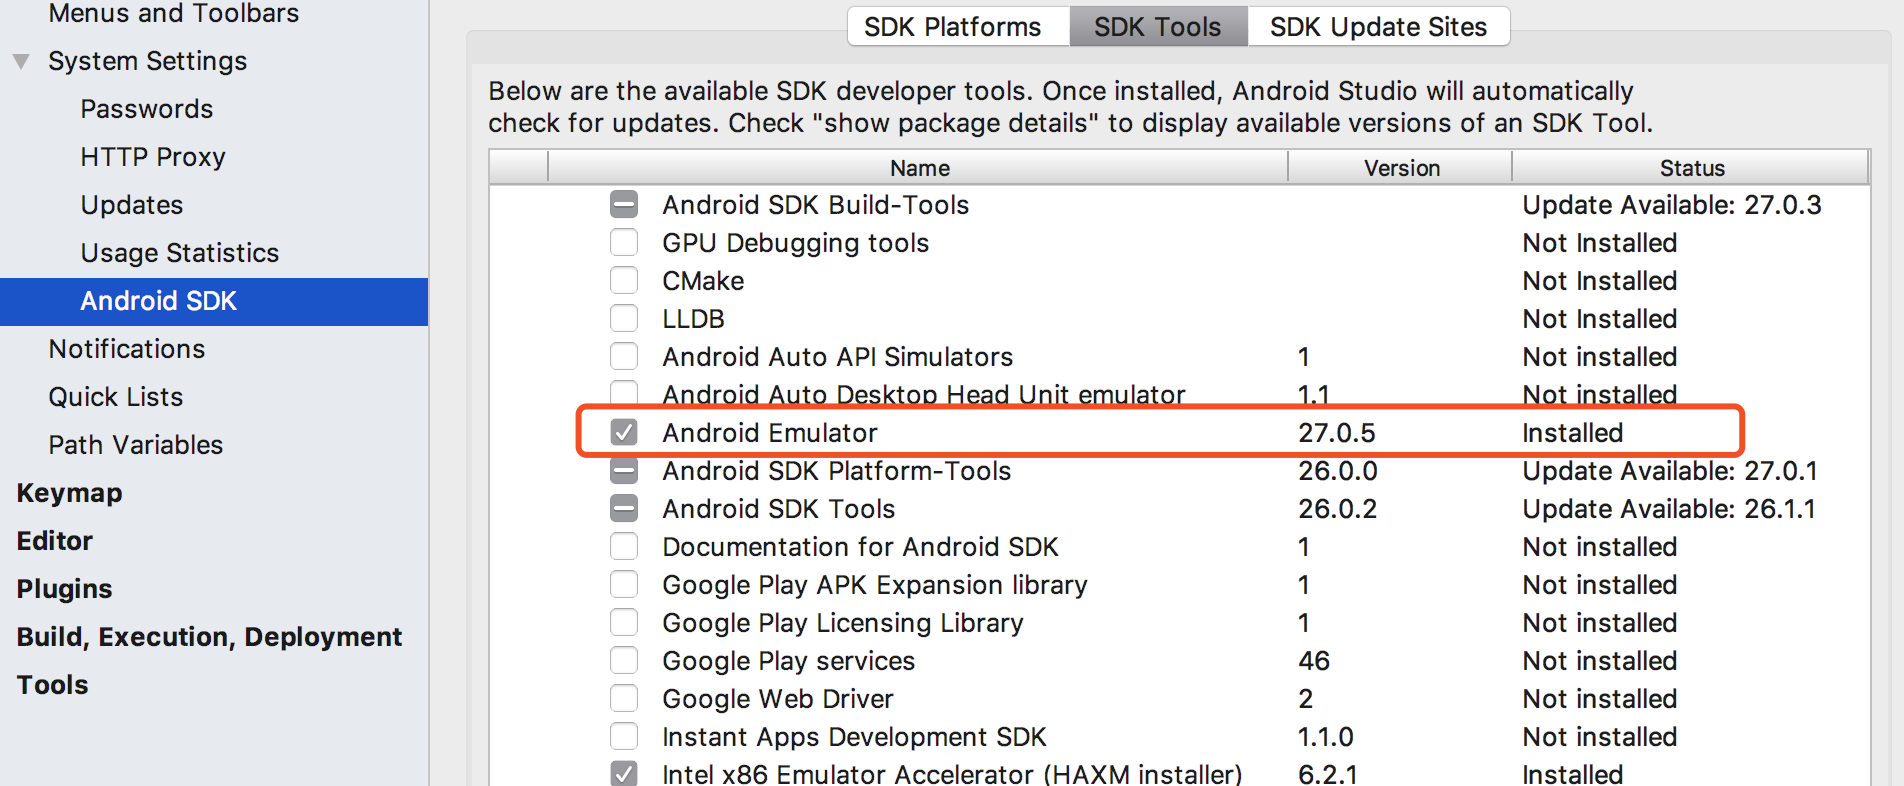
这一项没有勾。。。

android – 为什么Volley Library通常与okHttp Library结合使用?
例如:
OkHttpClient client = new OkHttpClient();
   client.networkInterceptors().add(new StethoInterceptor());
   mRequestQueue = Volley.newRequestQueue(context,new OkHttpStack(client));
解决方法
如果您没有提供,则Volley将根据您的API级别创建一个堆栈:如果您运行的是API 9或更低版本,它将基于androidhttpclient.如果您运行的是API 10或更高版本,它将基于HttpURLConnection.
OkHttp是一个现代,快速,高效的Http客户端,支持HTTP / 2和SPDY,为你做了很多东西,比如连接池,gziping,缓存……等等. OkHttp就像传输层一样.
OkHttp使用Okio,这是一个补充java.io和java.nio的库,使访问,存储和处理数据变得更加容易.
出于这些原因,我建议你使用和OkHttp Stack.我正在使用不使用okhttp-urlconnection的this one.
我已经为Android网络编写了一个article about using OkHttp,Volley and Gson,您可能会感兴趣.
我们今天的关于当我使用GNU C Library提供的非标准函数时,Clang可以警告我吗?的分享已经告一段落,感谢您的关注,如果您想了解更多关于Android Archive Library(AAR)与标准jar、android design library提供的TabLayout的用法、Android studio 模拟器报错: Qt library not found at /Users/dubox/Library/Android/sdk/emulator/lib64/qt/lib、android – 为什么Volley Library通常与okHttp Library结合使用?的相关信息,请在本站查询。
本文标签:


![[转帖]Ubuntu 安装 Wine方法(ubuntu如何安装wine)](https://www.gvkun.com/zb_users/cache/thumbs/4c83df0e2303284d68480d1b1378581d-180-120-1.jpg)

