在本文中,我们将给您介绍关于android中创建通知栏Notification代码实例的详细内容,并且为您解答android通知的相关问题,此外,我们还将为您提供关于Android8.0+通知栏(No
在本文中,我们将给您介绍关于android中创建通知栏Notification代码实例的详细内容,并且为您解答android 通知的相关问题,此外,我们还将为您提供关于Android 8.0+通知栏(Notification)适配详解,判断通知权限是否打开,并跳转至通知管理页面、Android Notification 发送通知(适配 Android 8.0)、android Notification 的一个简单应用(在 Notification 中嵌入一个进度条,并且这个 Notification 点击消失但不会跳转)、Android Notification 通知栏点击不能跳转的知识。
本文目录一览:- android中创建通知栏Notification代码实例(android 通知)
- Android 8.0+通知栏(Notification)适配详解,判断通知权限是否打开,并跳转至通知管理页面
- Android Notification 发送通知(适配 Android 8.0)
- android Notification 的一个简单应用(在 Notification 中嵌入一个进度条,并且这个 Notification 点击消失但不会跳转)
- Android Notification 通知栏点击不能跳转
")
android中创建通知栏Notification代码实例(android 通知)
///// 第一步:获取notificationmanager
		notificationmanager nm = (notificationmanager)
				getSystemService(Context.NOTIFICATION_SERVICE);

		///// 第二步:定义Notification
		Intent intent = new Intent(this,OtherActivity.class);
		//PendingIntent是待执行的Intent
		PendingIntent pi = PendingIntent.getActivity(this,intent,PendingIntent.FLAG_CANCEL_CURRENT);
		Notification notification = new Notification.Builder(this)
				.setContentTitle("title")
				.setContentText("text")
				.setSmallIcon(R.drawable.ic_launcher).setContentIntent(pi)
				.build();
		notification.flags = Notification.FLAG_NO_CLEAR;

		/////第三步:启动通知栏,第一个参数是一个通知的唯一标识
		nm.notify(0,notification);

		//关闭通知
		//nm.cancel(0);
适配详解,判断通知权限是否打开,并跳转至通知管理页面")
Android 8.0+通知栏(Notification)适配详解,判断通知权限是否打开,并跳转至通知管理页面
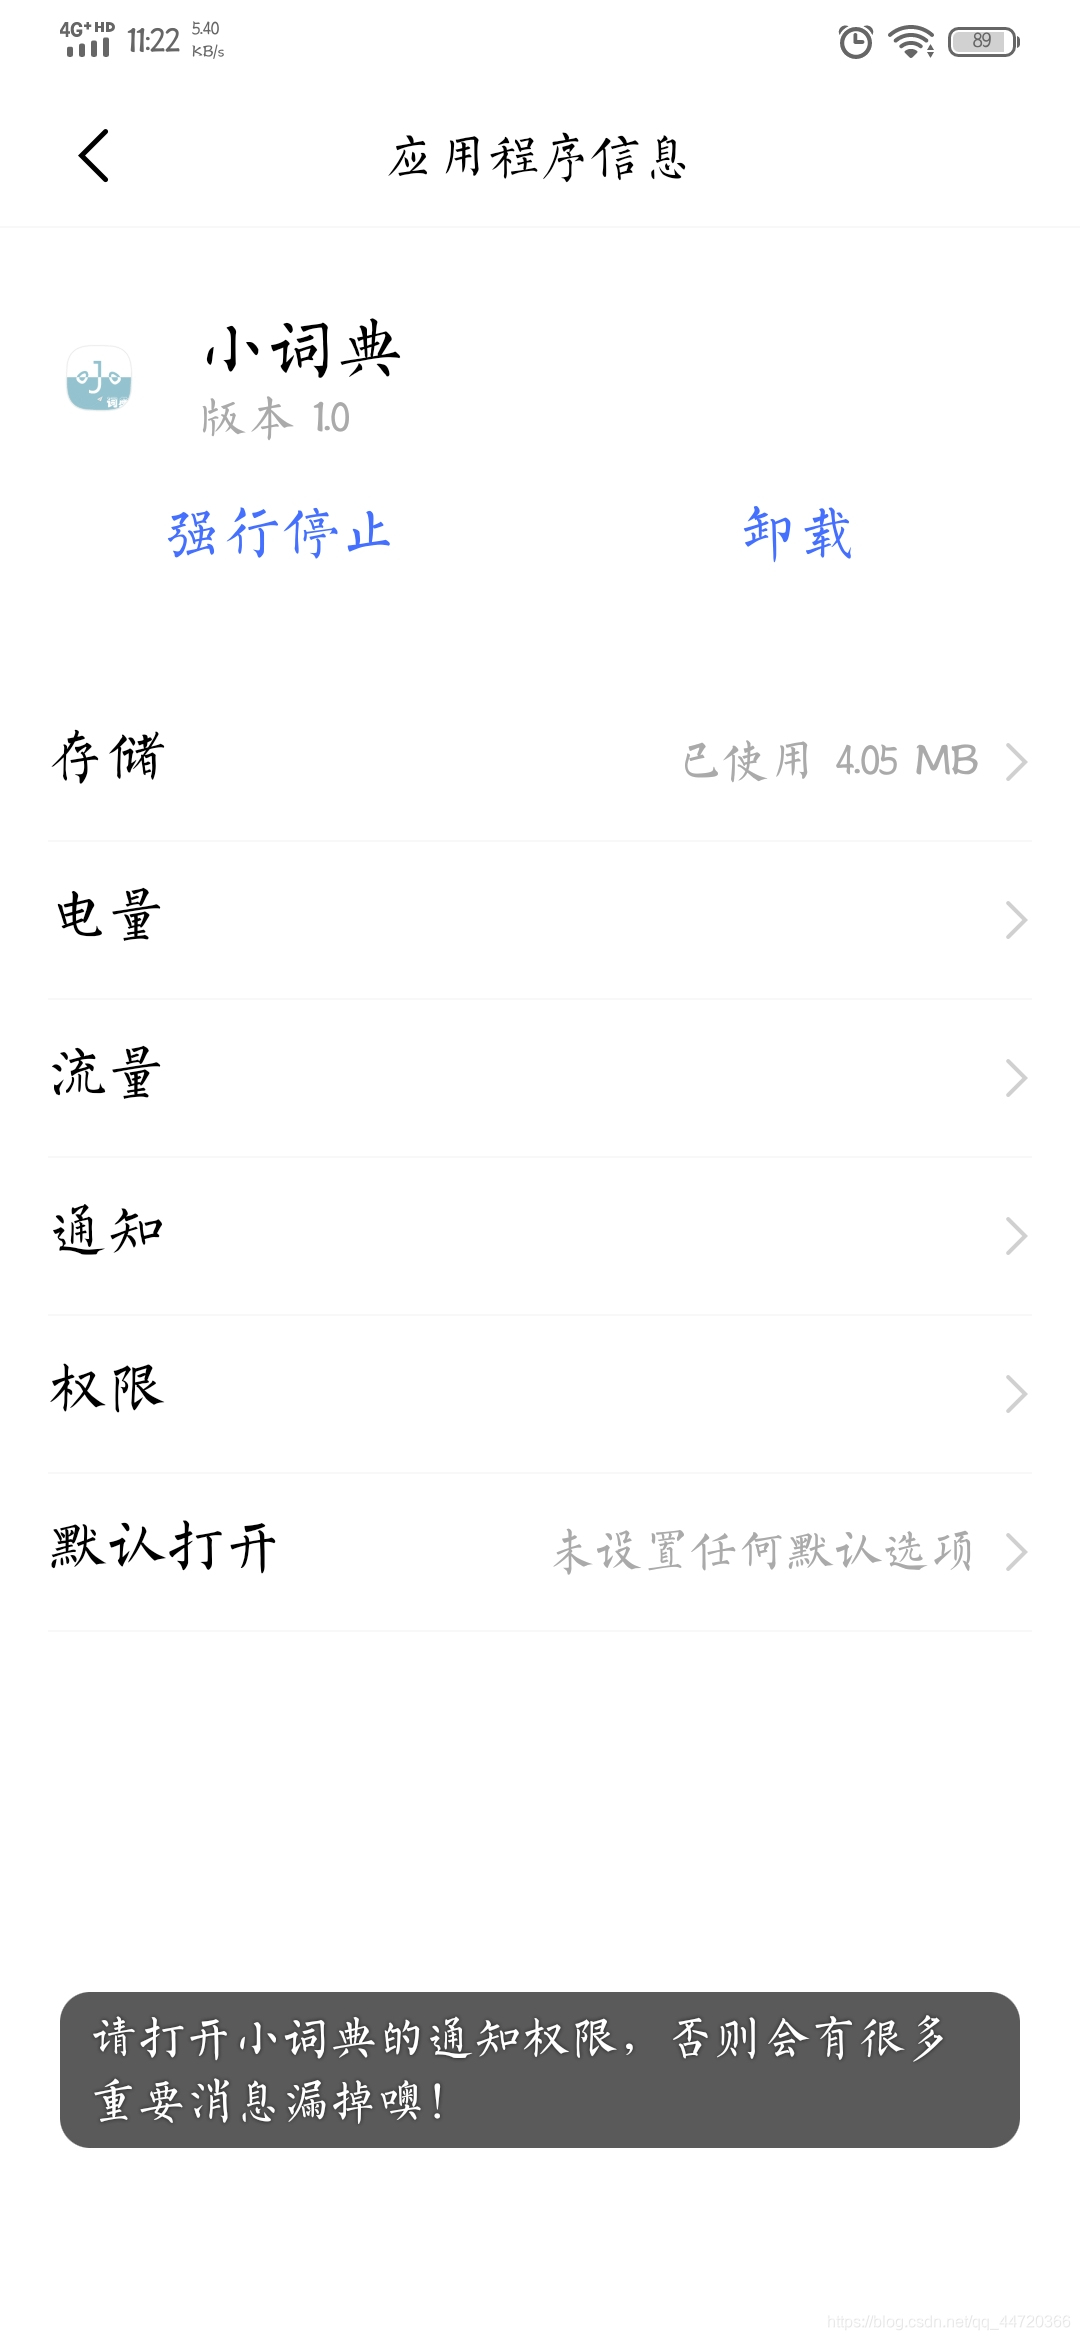
前不久因为API26(Android 8.0)以上的设备无法显示通知栏,所以网上查阅了比较多了资料,得出结论,API26以后引入了通知渠道这么个东西,然后就写了一篇问题对应的博文:Android 8.0通知栏(Notification)适配,在模拟上是完美运行,可是当我前两天安装到真机上测试时,咦?怎么又无效了?然后我就想着,是不是通知权限没打开?因为模拟器上很多权限的控制和真机上差别很大,我打开设置一看,还真是!那么本文就接着Android 8.0通知栏(Notification)适配作一个补充。
文章目录
- Android 10 真机测试效果:
- 判断通知权限是否打开
- 一行代码判断
- areNotificationsEnabled() 的源码(可忽略)
- 跳转到通知管理页面
- 方法逻辑:
- 补充
- 方法逻辑
Android 10 真机测试效果:
判断通知权限是否打开
一行代码判断
我们要打开通知 管理页面 第一步当然是判断 通知权限是否打开了? ,打开了我们就不需要跳转到通知管理页面了,没打开我们才进行跳转。
这里我们用NotificationManagerCompat提供的 .areNotificationsEnabled() 方法来判断通知权限是否打开,返回的是boolean值
NotificationManagerCompat.from(this).areNotificationsEnabled()
注意:这个方法只适用于API19(Android 4.4)以上,API19以下会直接返回true,当然我们不是特殊开发也可以忽略了,毕竟现在市场上低于 Android4.4 的手机恐怕不好找,而且貌似Android4.4以下的对权限这块也没有太严格~
areNotificationsEnabled() 的源码(可忽略)
我们来看看 areNotificationsEnabled() 的源码,源码可以很清晰明朗地看到,API24以上直接调用 mNotificationManager.areNotificationsEnabled(); 方法,而 API19 -API 23 则是通过反射的方式来获取,API 19 以下就直接返回 true 了
 /**
     * Returns whether notifications from the calling package are not blocked.
     */
    public boolean areNotificationsEnabled() {
        if (Build.VERSION.SDK_INT >= 24) {
            return mNotificationManager.areNotificationsEnabled();
        } else if (Build.VERSION.SDK_INT >= 19) {
            AppOpsManager appOps =
                    (AppOpsManager) mContext.getSystemService(Context.APP_OPS_SERVICE);
            ApplicationInfo appInfo = mContext.getApplicationInfo();
            String pkg = mContext.getApplicationContext().getPackageName();
            int uid = appInfo.uid;
            try {
                Class<?> appOpsClass = Class.forName(AppOpsManager.class.getName());
                Method checkOpNoThrowMethod = appOpsClass.getMethod(CHECK_OP_NO_THROW, Integer.TYPE,
                        Integer.TYPE, String.class);
                Field opPostNotificationValue = appOpsClass.getDeclaredField(OP_POST_NOTIFICATION);
                int value = (int) opPostNotificationValue.get(Integer.class);
                return ((int) checkOpNoThrowMethod.invoke(appOps, value, uid, pkg)
                        == AppOpsManager.MODE_ALLOWED);
            } catch (ClassNotFoundException | NoSuchMethodException | NoSuchFieldException
                    | InvocationTargetException | IllegalAccessException | RuntimeException e) {
                return true;
            }
        } else {
            return true;
        }
    }
跳转到通知管理页面
通知权限判断完了当然是要根据判断结果来进行跳转了,上面我们可以知道 NotificationManagerCompat.from(this).areNotificationsEnabled() 是会返回 boolean 值的,true 代表权限已经打开,反之则没有打开,这里我们可以写一个 if 语句根据返回结果来进行判断,这里直接给一个现成的方法吧
方法逻辑:
- 首先判断 通知权限是否打开
- 如果判断结果是:false(权限没打开),再进行当前手机的 API 判断
- 通过判断API,来调用不同的方法,实现跳转到应用通知设置的页面
private boolean intent(Context context) {//判断应用的通知权限是否打开,返回Boolean值
        if (!NotificationManagerCompat.from(context).areNotificationsEnabled()) {
            Intent localIntent = new Intent();
            //判断API,跳转到应用通知管理页面
            if (Build.VERSION.SDK_INT >= Build.VERSION_CODES.O) {//8.0及以上
                localIntent.addFlags(Intent.FLAG_ACTIVITY_NEW_TASK);
                localIntent.setAction("android.settings.APPLICATION_DETAILS_SETTINGS");
                localIntent.setData(Uri.fromParts("package", context.getPackageName(), null));
            } else (android.os.Build.VERSION.SDK_INT >= Build.VERSION_CODES.LOLLIPOP) {//8.0以下
                localIntent.setAction("android.settings.APP_NOTIFICATION_SETTINGS");
                localIntent.putExtra("app_package", context.getPackageName());
                localIntent.putExtra("app_uid", context.getApplicationInfo().uid);
            }
            context.startActivity(localIntent);
            return false;
        }
        return true;
    }
补充
这里补充一下 Android 8.0 +的 Notification通知栏消息 的使用,相对于以前也只是加了一个NotificationChannel通知渠道,想要详细看的可以去我前一篇关于通知栏的博客:Android 8.0通知栏(Notification)适配
方法逻辑
- 首先通过上面的 通知权限判断 方法判断通知权限是否打开
- 打开了的话判断当前手机的API,如果是在 26 (Android 8.0)以上则多实例化一个NotificationChannel对象,并传入一个 ID(用户不可见,要保证id的唯一性) 和一个 Name(用户能看到) ,最后是一个通知的优先级,这里我设置的 高(IMPORTANCE_HIGH)
- 如果API 在 26 以下,我们则直接调用以前使用的方法即可,这样就可以兼容上下API了
public void show(Context context, String title, String msg) {

    if (intent(context)) {
        NotificationManager manager = (NotificationManager) context.getSystemService(NOTIFICATION_SERVICE);
        Notification notification = null;
        if (Build.VERSION.SDK_INT >= 26) {//API26以上的方法
            NotificationChannel channel = new NotificationChannel("id", "name", NotificationManager.IMPORTANCE_HIGH);
            manager.createNotificationChannel(channel);
            notification = new Notification.Builder(context, "id")
                    .setContentTitle(title)
                    .setContentText(msg)
                    .setSmallIcon(R.mipmap.img_icon)
                    .build();
        } else {//API26以下
            notification = new Notification.Builder(context)
                    .setContentTitle(title)
                    .setContentText(msg)
                    .setSmallIcon(R.mipmap.img_icon)
                    .build();
        }
        manager.notify(1, notification);
    }

}
如果文章对你还算有点帮助,点个赞吧!

")
Android Notification 发送通知(适配 Android 8.0)
segmentfault 对 mackdown 语法的支持不是很好,有些图片都显示不出来,大家可以去我的掘金查看这篇文章。
一、Notification 概述
Notification,俗称通知,是一种具有全局效果的通知,它展示在屏幕的顶端,首先会表现为一个图标的形式,当用户向下滑动的时候,展示出通知具体的内容。系统为开发者提供了不同种类的通知样式模板可以使用,开发者也可以根据自己需要自定义通知样式。
二、通知渠道(NotificationChannel)
通知渠道是 Google 在 Android O 中新增加的功能,新的版本中把振动、音效和灯效等相关效果放在了通知渠道中控制,这样用户就可以有选择的控制应用的某一类通知的通知效果,而不像之前版本中应用所有通知都受控于一种设置。需要注意的是,在 Android O 版本中,发送通知的时候必须要为通知设置通知渠道,否则通知不会被发送。
public void addNotificationChannel() {
    if (Build.VERSION.SDK_INT >= Build.VERSION_CODES.O) {
        //创建通知渠道
        CharSequence name = "渠道名称1";
        String description = "渠道描述1";
        int importance = NotificationManager.IMPORTANCE_DEFAULT;//重要性级别 这里用默认的
        NotificationChannel mChannel = new NotificationChannel(channelId, name, importance);

        mChannel.setDescription(description);//渠道描述
        mChannel.enableLights(true);//是否显示通知指示灯
        mChannel.enableVibration(true);//是否振动

        mNotificationManager.createNotificationChannel(mChannel);//创建通知渠道
    }
}
三、发送通知
1、简单通知
效果图如下所示:
<img src = "https://img-blog.csdnimg.cn/20200902092733164.jpg?x-oss-process=image/watermark,type_ZmFuZ3poZW5naGVpdGk,shadow_10,text_aHR0cHM6Ly9ibG9nLmNzZG4ubmV0L3dlaXhpbl8zODQ3ODc4MA==,size_16,color_FFFFFF,t_70#pic_center" width="180" height="360"></img>
具体代码如下:
NotificationCompat.Builder mBuilder = new NotificationCompat.Builder(this, channelId)
        .setSmallIcon(R.mipmap.ic_launcher)//小图标
        .setContentTitle("我是标题")
        .setContentText("我是内容内容");

mNotificationManager.notify(id, mBuilder.build());
2、大文本通知
效果图如下所示:
<img src = "https://img-blog.csdnimg.cn/20200902093724237.jpg?x-oss-process=image/watermark,type_ZmFuZ3poZW5naGVpdGk,shadow_10,text_aHR0cHM6Ly9ibG9nLmNzZG4ubmV0L3dlaXhpbl8zODQ3ODc4MA==,size_16,color_FFFFFF,t_70#pic_center" width="180" height="360"></img>
具体代码如下:
NotificationCompat.Builder mBuilder2 = new NotificationCompat.Builder(this, channelId)
        .setSmallIcon(R.mipmap.ic_launcher)//小图标
        .setStyle(new NotificationCompat.BigTextStyle().bigText("通知渠道是 Google 在 Android O 中新增加的功能," +
                "新的版本中把振动、音效和灯效等相关效果放在了通知渠道中控制," +
                "这样用户就可以有选择的控制应用的某一类通知的通知效果," +
                "而不像之前版本中应用所有通知都受控于一种设置。需要注意的是," +
                "在 Android O 版本中,发送通知的时候必须要为通知设置通知渠道,否则通知不会被发送"))
        .setContentTitle("我是标题");

mNotificationManager.notify(id, mBuilder2.build());
3、通知可点击
效果图如下所示:
具体代码如下:
NotificationCompat.Builder mBuilder2 = new NotificationCompat.Builder(this, channelId)
        .setSmallIcon(R.mipmap.ic_launcher)//小图标
        .setStyle(new NotificationCompat.BigTextStyle().bigText("通知渠道是 Google 在 Android O 中新增加的功能," +
                "新的版本中把振动、音效和灯效等相关效果放在了通知渠道中控制," +
                "这样用户就可以有选择的控制应用的某一类通知的通知效果," +
                "而不像之前版本中应用所有通知都受控于一种设置。需要注意的是," +
                "在 Android O 版本中,发送通知的时候必须要为通知设置通知渠道,否则通知不会被发送"))
        .setContentTitle("我是标题");

Intent intent = new Intent(this, NotificationActivity.class);
PendingIntent ClickPending = PendingIntent.getActivity(this, 0, intent, 0);

mBuilder2.setContentIntent(ClickPending);
mBuilder2.setAutoCancel(true);//点击这条通知自动从通知栏中取消

mNotificationManager.notify(id, mBuilder2.build());
4、点击事件监听
我们都知道系统并未提供相应的 API 去监听通知点击事件。那么如果要捕获通知的点击,要怎么办呢。在 PendingIntent 中提供了一个方法 getBroadcast( ),我们可以通过广播的方式进行处理:当用户点击通知时,发送一个广播,我们可以在这个广播接收者中做需要的操作。
具体代码如下:
NotificationCompat.Builder mBuilder3 = new NotificationCompat.Builder(this, channelId)
        .setSmallIcon(R.mipmap.ic_launcher)//小图标
        .setStyle(new NotificationCompat.BigTextStyle().bigText("通知渠道是 Google 在 Android O 中新增加的功能," +
                "新的版本中把振动、音效和灯效等相关效果放在了通知渠道中控制," +
                "这样用户就可以有选择的控制应用的某一类通知的通知效果," +
                "而不像之前版本中应用所有通知都受控于一种设置。需要注意的是," +
                "在 Android O 版本中,发送通知的时候必须要为通知设置通知渠道,否则通知不会被发送"))
        .setContentTitle("我是标题");

Intent intent3 = new Intent(BROADCAST_ACTION);
intent3.putExtra("data","12345");//带上参数
PendingIntent pendingIntent = PendingIntent.getBroadcast(this,id,intent3, PendingIntent.FLAG_UPDATE_CURRENT);

mBuilder3.setContentIntent(pendingIntent);
mBuilder3.setAutoCancel(true);//点击这条通知自动从通知栏中取消

mNotificationManager.notify(id, mBuilder3.build());
break;
接受的代码如下所示:
public class DynamicBroadcast extends BroadcastReceiver {
    @Override
    public void onReceive(Context context, Intent intent){
        String data = intent.getStringExtra("data");
        Log.i("dataTag","点击通知事件发过来的数据为: " + data);
    }
}
运行结果如下所示:
可以看到我们已经成功的监测到了点击事件并接收到了传过来的数据。
四、完整代码
public class MainActivity extends AppCompatActivity implements View.OnClickListener {

    private Button btn_send;
    private Button btn_send_big_text;
    private Button btn_broadcast;

    // 通知相关
    private int id = 1111;
    private String channelId = "channelId1";//渠道id
    private NotificationManager mNotificationManager;

    private String BROADCAST_ACTION="android.intent.action.BROADCAST_ACTION";
    private DynamicBroadcast dynamicBroadcast;

    @Override
    protected void onCreate(Bundle savedInstanceState) {
        super.onCreate(savedInstanceState);
        setContentView(R.layout.activity_main);

        btn_send = findViewById(R.id.btn_send);
        btn_send_big_text = findViewById(R.id.btn_send_big_text);
        btn_broadcast = findViewById(R.id.btn_broadcast);
        btn_send.setOnClickListener(this);
        btn_send_big_text.setOnClickListener(this);
        btn_broadcast.setOnClickListener(this);

        mNotificationManager = (NotificationManager) getSystemService(Context.NOTIFICATION_SERVICE);
        addNotificationChannel();


        //动态注册广播
        dynamicBroadcast=new DynamicBroadcast();
        IntentFilter intentFilter=new IntentFilter(BROADCAST_ACTION);
        registerReceiver(dynamicBroadcast,intentFilter);
    }

    @Override
    protected void onDestroy() {
        super.onDestroy();

        if(dynamicBroadcast!=null){
            unregisterReceiver(dynamicBroadcast);
        }
    }

    public void addNotificationChannel() {
        if (Build.VERSION.SDK_INT >= Build.VERSION_CODES.O) {
            //创建通知渠道
            CharSequence name = "渠道名称1";
            String description = "渠道描述1";
            int importance = NotificationManager.IMPORTANCE_DEFAULT;//重要性级别 这里用默认的
            NotificationChannel mChannel = new NotificationChannel(channelId, name, importance);

            mChannel.setDescription(description);//渠道描述
            mChannel.enableLights(true);//是否显示通知指示灯
            mChannel.enableVibration(true);//是否振动

            mNotificationManager.createNotificationChannel(mChannel);//创建通知渠道
        }
    }


    @Override
    public void onClick(View v) {
        switch (v.getId()) {
            case R.id.btn_send:
                NotificationCompat.Builder mBuilder1 = new NotificationCompat.Builder(this, channelId)
                        .setSmallIcon(R.mipmap.ic_launcher)//小图标
                        .setContentTitle("我是标题")
                        .setContentText("我是内容内容");

                mNotificationManager.notify(id, mBuilder1.build());
                break;
            case R.id.btn_send_big_text:
                NotificationCompat.Builder mBuilder2 = new NotificationCompat.Builder(this, channelId)
                        .setSmallIcon(R.mipmap.ic_launcher)//小图标
                        .setStyle(new NotificationCompat.BigTextStyle().bigText("通知渠道是 Google 在 Android O 中新增加的功能," +
                                "新的版本中把振动、音效和灯效等相关效果放在了通知渠道中控制," +
                                "这样用户就可以有选择的控制应用的某一类通知的通知效果," +
                                "而不像之前版本中应用所有通知都受控于一种设置。需要注意的是," +
                                "在 Android O 版本中,发送通知的时候必须要为通知设置通知渠道,否则通知不会被发送"))
                        .setContentTitle("我是标题");

                Intent intent = new Intent(this, NotificationActivity.class);
                PendingIntent ClickPending = PendingIntent.getActivity(this, 0, intent, 0);

                mBuilder2.setContentIntent(ClickPending);
                mBuilder2.setAutoCancel(true);//点击这条通知自动从通知栏中取消

                mNotificationManager.notify(id, mBuilder2.build());

                break;
            case R.id.btn_broadcast:
                NotificationCompat.Builder mBuilder3 = new NotificationCompat.Builder(this, channelId)
                        .setSmallIcon(R.mipmap.ic_launcher)//小图标
                        .setStyle(new NotificationCompat.BigTextStyle().bigText("通知渠道是 Google 在 Android O 中新增加的功能," +
                                "新的版本中把振动、音效和灯效等相关效果放在了通知渠道中控制," +
                                "这样用户就可以有选择的控制应用的某一类通知的通知效果," +
                                "而不像之前版本中应用所有通知都受控于一种设置。需要注意的是," +
                                "在 Android O 版本中,发送通知的时候必须要为通知设置通知渠道,否则通知不会被发送"))
                        .setContentTitle("我是标题");

                Intent intent3 = new Intent(BROADCAST_ACTION);
                intent3.putExtra("data","12345");//带上参数
                PendingIntent pendingIntent = PendingIntent.getBroadcast(this,id,intent3, PendingIntent.FLAG_UPDATE_CURRENT);

                mBuilder3.setContentIntent(pendingIntent);
                mBuilder3.setAutoCancel(true);//点击这条通知自动从通知栏中取消

                mNotificationManager.notify(id, mBuilder3.build());
                break;
        }
    }
}
五、备注
测试的时候发现,在 Google 的 Pixel 手机上,当通知显示出来时,对应小图标的icon的样式是一个纯白的小方块或者小圆块。如下图所示:
<img src = "https://img-blog.csdnimg.cn/20200914155303239.png?x-oss-process=image/watermark,type_ZmFuZ3poZW5naGVpdGk,shadow_10,text_aHR0cHM6Ly9ibG9nLmNzZG4ubmV0L3dlaXhpbl8zODQ3ODc4MA==,size_16,color_FFFFFF,t_70#pic_center" width="250" height="260"></img>
出现这个问题的原因就是 google 原生的手机通过 setSmallIcon() 方法设置的图片必须是<font color=red>背景透明的</font>,所有不透明的点最终都会显示为白色。详情请看这篇博客。
")
android Notification 的一个简单应用(在 Notification 中嵌入一个进度条,并且这个 Notification 点击消失但不会跳转)
网上很多的例子都是直接获取 Notification 对象来设置一个通知,其实 Notification 跟 Dialog 一样,也有自己的 Builder,可以用 builder 对象来设置一个 Notification
这个例子是在 Notification 中嵌入一个进度条,并且这个 Notification 点击消失但不会跳转(跟 android 的 vcard 文件导入时弹出的 Notification 一样)
NotificationManager mNotificationManager = (NotificationManager)
context.getSystemService(Context.NOTIFICATION_SERVICE);
Notification.Builder builder = new Notification.Builder(context);
builder.setOngoing(true);
builder.setProgress (total, current, false);// 设置进度条,false 表示是进度条,true 表示是个走马灯
builder.setTicker (title);// 设置 title
builder.setWhen(System.currentTimeMillis());
builder.setContentTitle (content);// 设置内容
builder.setAutoCancel (true);// 点击消失
builder.setSmallIcon(R.drawable.upload);
builder.setContentIntent (PendingIntent.getActivity (context, 0, new Intent (), 0));// 这句和点击消失那句是 “Notification 点击消失但不会跳转” 的必须条件,如果只有点击消失那句,这个功能是不能实现的
Notification noti = builder.getNotification();
mNotificationManager.notify(id,noti);
希望这个例子对其他人有点用,因为我特曾为这个功能苦恼过,呵呵!

Android Notification 通知栏点击不能跳转
关于通知栏Notification的使用,不多讲,这里说的很清楚http://www.cnblogs.com/zenfly/archive/2012/02/09/2343923.html
先说下我遇到的问题:
在应用关闭的时候,发送通知到通知栏,点击通知栏能正常跳转到我想要的页面,代码如下
Intent msgIntent = new Intent();

msgIntent.addCategory(Intent.CATEGORY_LAUNCHER);
						msgIntent.setComponent(new ComponentName(context.getPackageName(), "com.test.FragmentActivity"));

msgIntent.setFlags(Intent.FLAG_ACTIVITY_NEW_TASK | Intent.FLAG_ACTIVITY_RESET_TASK_IF_NEEDED);// 关键的一步,设置启动模式

UITools.showNotification(context, Notify.NORMAL, msgIntent, jsonBean.getMessageTitle());
Intent msgIntent = new Intent();

msgIntent.setClass(context, FragmentActivity.class);

msgIntent.setFlags(Intent.FLAG_ACTIVITY_MULTIPLE_TASK | Intent.FLAG_ACTIVITY_NEW_TASK | Intent.FLAG_ACTIVITY_RESET_TASK_IF_NEEDED);// 关键的一步,设置启动模式

UITools.showNotification(context, Notify.NORMAL, msgIntent, jsonBean.getMessageTitle());
<activity
            android:name=".activity.FragmentActivity"
            android:taskAffinity="" >
        </activity>
设置栈,可以正常响应我的通知栏意图了,但是新的问题出现了,当我按下Home键回到桌面的时候,在回来,就不能打开按下之间的页面了,不同的栈,,,,,
-------问题总是有的,于是换了一种折中的解决方案
Intent msgIntent = new Intent();

msgIntent.setAction(IntentAction.ACTION_TRIP_APPROVE);

UITools.showNotificationBroadcast(context, Notify.NORMAL, msgIntent, jsonBean.getMessageTitle());  //这里是发送广播哦
PendingIntent pendingIntent = PendingIntent.getBroadcast(this, count, intent, PendingIntent.FLAG_UPDATE_CURRENT);
intent.setData(Uri.parse("abc"));
PendingIntent pendingIntent = PendingIntent.getBroadcast(this, requestCode, intent, PendingIntent.FLAG_UPDATE_CURRENT);PendingIntent pendingIntent = PendingIntent.getBroadcast(this, requestCode, intent, PendingIntent.FLAG_UPDATE_CURRENT);
标红的地方是重点,为每个意图设置不同的requestCode,Flag设置为更新当前
今天关于android中创建通知栏Notification代码实例和android 通知的分享就到这里,希望大家有所收获,若想了解更多关于Android 8.0+通知栏(Notification)适配详解,判断通知权限是否打开,并跳转至通知管理页面、Android Notification 发送通知(适配 Android 8.0)、android Notification 的一个简单应用(在 Notification 中嵌入一个进度条,并且这个 Notification 点击消失但不会跳转)、Android Notification 通知栏点击不能跳转等相关知识,可以在本站进行查询。
本文标签:


![[转帖]Ubuntu 安装 Wine方法(ubuntu如何安装wine)](https://www.gvkun.com/zb_users/cache/thumbs/4c83df0e2303284d68480d1b1378581d-180-120-1.jpg)

